Build Instructions
This section contains the build instructions from the source code available at our GitHub page.
Development Setup
Prerequisites
Compiling Instructions
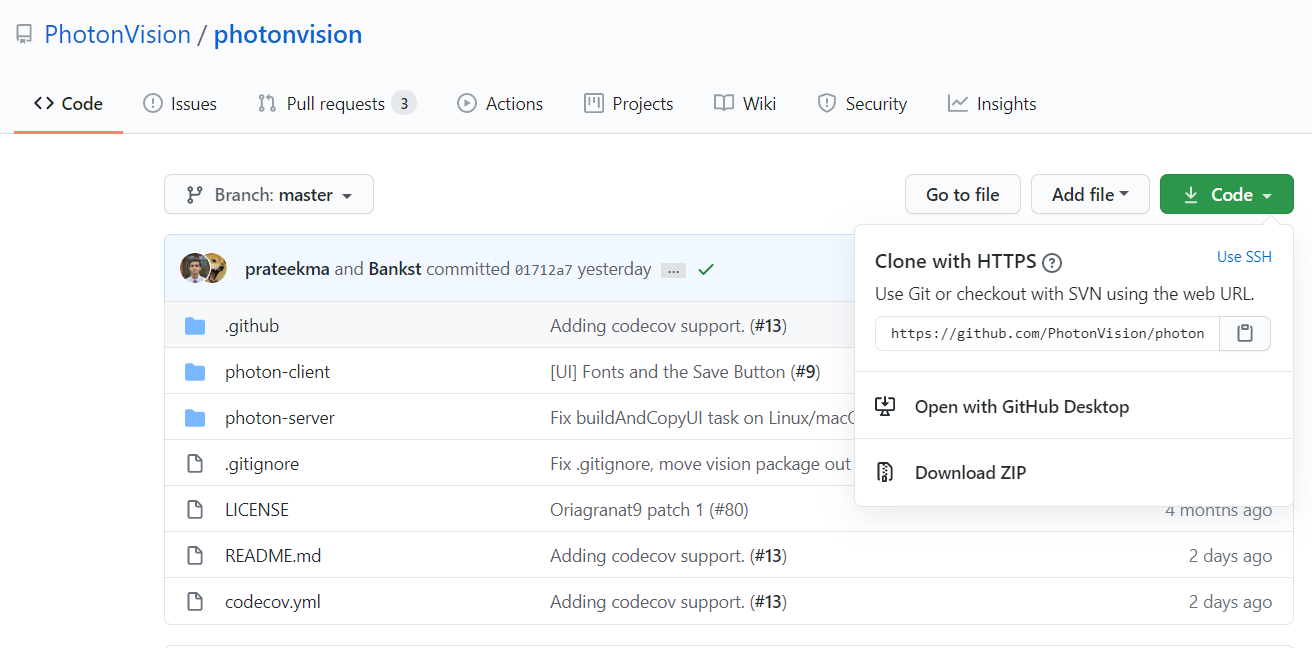
Getting the Source Code
Get the source code from git:
git clone https://github.com/PhotonVision/photonvision
or alternatively download the source code from github and extract the zip:
Install Necessary Node JS Dependencies
In the photon-client directory:
npm install
Build and Copy UI to Java Source
In the root directory:
./gradlew buildAndCopyUI
./gradlew buildAndCopyUI
gradlew buildAndCopyUI
Build and Run PhotonVision
To compile and run the project, issue the following command in the root directory:
./gradlew run
./gradlew run
gradlew run
Running the following command under the root directory will build the jar under photon-server/build/libs:
./gradlew shadowJar
./gradlew shadowJar
gradlew shadowJar
Build and Run PhotonVision on a Raspberry Pi Coprocessor
As a convenience, the build has a built-in deploy command which builds, deploys, and starts the current source code on a coprocessor.
An architecture override is required to specify the deploy target’s architecture.
./gradlew clean
./gradlew deploy -PArchOverride=linuxarm64
./gradlew clean
./gradlew deploy -PArchOverride=linuxarm64
gradlew clean
gradlew deploy -PArchOverride=linuxarm64
The deploy command is tested against Raspberry Pi coprocessors. Other similar coprocessors may work too.
Using PhotonLib Builds
The build process includes the following task:
./gradlew generateVendorJson
./gradlew generateVendorJson
gradlew generateVendorJson
This generates a vendordep JSON of your local build at photon-lib/build/generated/vendordeps/photonlib.json.
The photonlib source can be published to your local maven repository after building:
./gradlew publishToMavenLocal
./gradlew publishToMavenLocal
gradlew publishToMavenLocal
After adding the generated vendordep to your project, add the following to your project’s build.gradle under the plugins {} block.
repositories {
    mavenLocal()
}
Debugging PhotonVision Running Locally
One way is by running the program using gradle with the --debug-jvm flag. Run the program with ./gradlew run --debug-jvm, and attach to it with VSCode by adding the following to launch.json. Note args can be passed with --args="foobar".
{
   // Use IntelliSense to learn about possible attributes.
   // Hover to view descriptions of existing attributes.
   // For more information, visit: https://go.microsoft.com/fwlink/?linkid=830387
   "version": "0.2.0",
   "configurations": [
      {
            "type": "java",
            "name": "Attach to Remote Program",
            "request": "attach",
            "hostName": "localhost",
            "port": "5005",
            "projectName": "photon-core",
      }
   ]
}
PhotonVision can also be run using the gradle tasks plugin with "args": "--debug-jvm" added to launch.json.
Debugging PhotonVision Running on a CoProcessor
Set up a VSCode configuration in launch.json
{
   // Use IntelliSense to learn about possible attributes.
   // Hover to view descriptions of existing attributes.
   // For more information, visit: https://go.microsoft.com/fwlink/?linkid=830387
   "version": "0.2.0",
   "configurations": [
     {
         "type": "java",
         "name": "Attach to CoProcessor",
         "request": "attach",
         "hostName": "photonvision.local",
         "port": "5801",
         "projectName": "photon-core"
     },
   ]
}
Stop any existing instance of PhotonVision.
Launch the program with the following additional argument to the JVM: java -jar -agentlib:jdwp=transport=dt_socket,server=y,suspend=n,address=*:5801 photonvision.jar
Once the program says it is listening on port 5801, launch the debug configuration in VSCode.
The program will wait for the VSCode debugger to attach before proceeding.
Running examples
You can run one of the many built in examples straight from the command line, too! They contain a fully featured robot project, and some include simulation support. The projects can be found inside the photonlib-java-examples and photonlib-cpp-examples subdirectories, respectively. The projects currently available include:
- photonlib-java-examples:
aimandrange:simulateJava
aimattarget:simulateJava
getinrange:simulateJava
simaimandrange:simulateJava
simposeest:simulateJava
- photonlib-cpp-examples:
aimandrange:simulateNative
getinrange:simulateNative
To run them, use the commands listed below. Photonlib must first be published to your local maven repository, then the copyPhotonlib task will copy the generated vendordep json file into each example. After that, the simulateJava/simulateNative task can be used like a normal robot project. Robot simulation with attached debugger is technically possible by using simulateExternalJava and modifying the launch script it exports, though unsupported.
~/photonvision$ ./gradlew publishToMavenLocal

~/photonvision$ cd photonlib-java-examples
~/photonvision/photonlib-java-examples$ ./gradlew copyPhotonlib
~/photonvision/photonlib-java-examples$ ./gradlew <example-name>:simulateJava

~/photonvision$ cd photonlib-cpp-examples
~/photonvision/photonlib-cpp-examples$ ./gradlew copyPhotonlib
~/photonvision/photonlib-cpp-examples$ ./gradlew <example-name>:simulateNative