Raspberry Pi Installation
A Pre-Built Raspberry Pi image is available for ease of installation.
Downloading the Pi Image
Download the latest release of the PhotonVision Raspberry image (.xz file) from the releases page. You do not need to extract the downloaded ZIP file.
Note
Make sure you download the image that ends in ‘-RaspberryPi.xz’.
Flashing the Pi Image
An 8GB or larger card is recommended.
Use the 1.18.11 version of Balena Etcher to flash an image onto a Raspberry Pi. Select the downloaded .tar.xz file, select your microSD card, and flash.
For more detailed instructions on using Etcher, please see the Etcher website.
Warning
Using a version of Balena Etcher older than 1.18.11 may cause bootlooping (the system will repeatedly boot and restart) when imaging your Raspberry Pi. Updating to 1.18.11 will fix this issue.
Alternatively, you can use the Raspberry Pi Imager to flash the image.
Select “Choose OS” and then “Use custom” to select the downloaded image file. Select your microSD card and flash.
If you are using a non-standard Pi Camera connected to the CSI port, additional configuration may be required.
Final Steps
Insert the flashed microSD card into your Raspberry Pi and boot it up. The first boot may take a few minutes as the Pi expands the filesystem. Be sure not to unplug during this process.
After the initial setup process, your Raspberry Pi should be configured for PhotonVision. You can verify this by making sure your Raspberry Pi and computer are connected to the same network and navigating to http://photonvision.local:5800 in your browser on your computer.
Troubleshooting/Setting a Static IP
A static IP address may be used as an alternative to the mDNS photonvision.local address.
Download and run Angry IP Scanner to find PhotonVision/your coprocessor on your network.
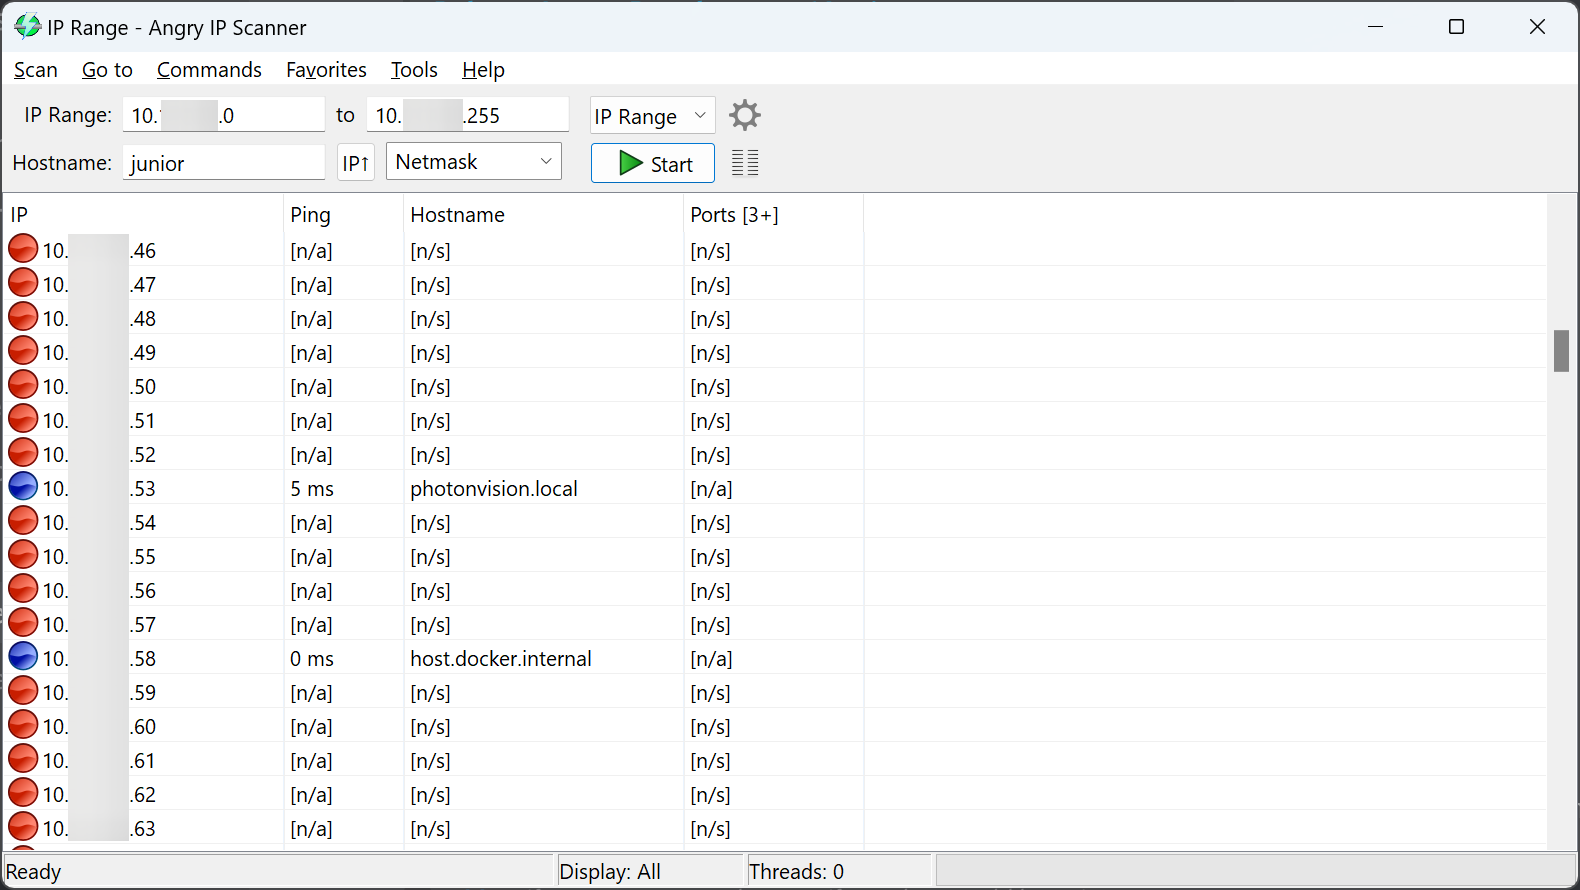
Once you find it, set the IP to a desired static IP in PhotonVision.
Updating PhotonVision
To upgrade a Raspberry Pi device with PhotonVision already installed, follow the Raspberry Pi update instructions.